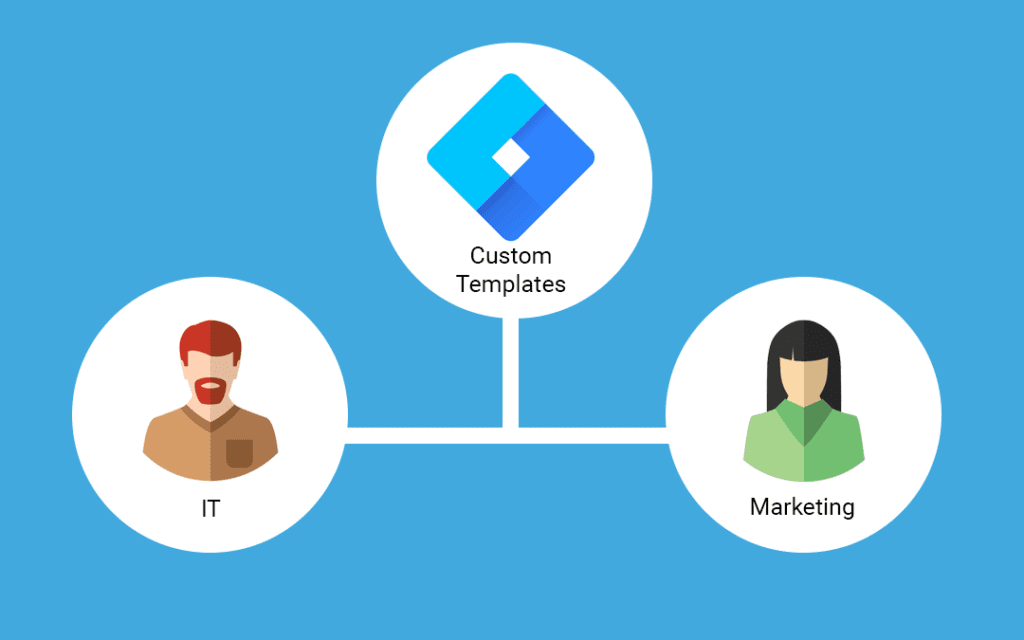
Marketing teams and IT teams working together in Google Tag Manager can present understandable challenges for all involved. Marketers want the freedom to do what they need to do to get the data they need, and IT professionals want to make sure they run secure, optimized code on their sites. Google Tag Manager recently introduced a set of features called Custom Templates, which builds a bridge between marketing teams and IT teams. Custom Templates allow developers to create standardized, reusable tag templates inherently aligned with the standards that their marketing counterparts can pick up and use to get the data they need.
This post provides you the information you need to get started with Custom Templates today.
Creating a Custom Template
Click Templates in the left navigation of GTM and then click New in the Tag Templates panel. Here you can see areas for the basic info for the tag, the fields I’ve created for the user, a quick glance at the code behind the tag, and a breeze through the permissions for the tag. I’ll talk about each of these in more detail below.
The tag template shown in the video is for a Facebook remarketing/conversion tag template. This is a good use case because an out-of-the-box tag for Facebook doesn’t exist in GTM today.
Template Info
This part of the template is where you can provide a name, description, and logo. The logo can help your marketing team quickly identify which tag template they want to use when they go to create new tags. This may also be a chance for you to do some branding for the public template gallery or just for your team.
Below you can see some of the impacts of this branding. If you don’t choose a logo, GTM will use the first letter of your tag or variable name.
Template Fields
Fields are how you will enable your marketers to customize each tag they make from the template, such as choosing what type of event that tag instance should fire, or providing a necessary ID.
There are some great fields for you to choose from as you design your template, including dropdown menus, table inputs, and more. Each of these has advanced features tucked into settings menus, such as validation rules, default values, and even custom button text.
Check out the below example for a YouTube Tracker tag that sends YouTube data to the data layer. The configuration the developer would use is on the left, while the preview of what the marketer would see when creating the tag is on the right. The marketer creating the tag can choose which YouTube events they want to track, as well as which percent values they’d like to track as events.
The developer can customize the tag, adding and removing fields for different purposes. There are advanced controls, too, such as editing the button text from the default of “Add Row” to the more instructive “Add % Watched Event.” The developer can also add a validation rule so that any % watched values must be a whole integer between 0 and 100.
Template Code
Here’s where you can write your custom scripts that handle the input from the fields and do something with them, like fire a marketing pixel. It seems likely that Google might someday include more administrative controls, so a marketer creating and editing tags would no longer need to venture into the cold and scary world of this code. (It’s pretty scary for the developer, too, when that happens).
The environment for templates is sandboxed JavaScript. That means that you can’t access stuff like the window object and its properties. In more layman’s terms, this means that a developer in this environment can’t access most of the data, content, and functions normally available within the browser when working in JavaScript code. This honestly feels frustratingly restrictive at times, but templates were designed that way for a reason – with security in mind. Google has provided some APIs to do common tasks that need to get around this restriction. For example, the “copyFromWindow” and “callInWindow” APIs were really handy for writing the Facebook remarketing/conversion tag, because I needed to create and then use a function within the window. It needed to exist in the window so that the injected Facebook library could also use it later on.
Here’s an example of a (completely unnecessary) test I did in creating a Twitter tag template. You can see highlighted where I (1) told the template to import the API and assigned it to a variable of the same name and (2) used the API to do required functions within the tag. Note that for this and the Facebook example, I had to completely rework the tags from how the vendor provides them in order to get them to work in this environment.
In the above code on line 18, there is a gtmOnSuccess() function. This is required in the template so that certain GTM functionality like tag sequencing knows when the tag is done. On line 39 is its counterpart, gtmOnFailure(), which lets GTM know that the tag failed – this isn’t required for creating a template.
Permissions
When you import an API, you may need to enable permissions. For example, if you want to use the injectScript API, you have to specify which script URLs you want to allow to be injected. This way, if the end user is allowed to provide the URL you are injecting in a field, they can’t use the template to inject another unapproved library.
Below are the permissions required for the same Twitter tag as above. You can see the injectScript URL I mentioned. For functions that need to read, write, or execute global data or functions, you need to provide a key. This is the name of the variable or function you want to use.
In addition to these settings within the template editor, you can also set policies from your site using a new policies API that is part of this beta.
For example, you can set a policy on your site to only allow scripts injected from facebook.com, twitter.com, and google.com URLs. This concept is similar to Content Security Policy (CSP), which is worth learning about if you have some time.
This permissions model is awesome for security. It really provides a lot of control to the developer – clearly Google has been listening to all the feedback they’ve been getting. It’s like a developer’s dream fortress of icy, protected solitude!
Now, all this restrictive power does come with a price. I was playing around with an idea for a variable template where a user could type in something complex into an input field, like “ecommerce.impressions.n.id”, and the variable would return an array of that info (in the example’s case, an array of product IDs) from the data layer. I thought this would be a neat way to let a semi-technical GTM user make more complex requests of a tag.
But because you have to grant permissions individually on what items you can reference in the dataLayer, there isn’t a good way to allow the end-user this much flexibility.
Additional Features
In addition to these panes, there are hidden goodies in the upper right-hand menu within the template editor. You can import/export that template only. Showing “Advanced Settings” currently only shows a hidden notes tab. The “test page” is just a small blank HTML area that shows what page modifications would look like.
Note that using a template for a custom variable is almost exactly the same. There are two key differences:
- gtmOnSuccess() isn’t required and doesn’t work in variables
- Your variable must return a value (the value can be a string, object, number, etc.)
Workflow Benefits
With GTM, companies with a technical team find themselves more involved in tag management as time goes on. After years of running amok, the marketers have made all kinds of tags, including loads of custom HTML tags that introduce redundant, insecure code.
If you are an IT or dev minded admin of GTM, Custom Templates will enable you to provide solutions your team needs, in a way that is secure and streamlined. The investment to set up these structures upfront will also reduce the marketers’ dependency on you later on.
Custom Templates also benefit marketers, because marketers can manage tags more easily and with more powerful features provided to them by their developers.
Custom Templates allow both marketers and developers to get the most out of their GTM solution. We’ve seen over and over that when you put in the work upfront to make GTM a robust solution, you improve the relationship between the marketing team and the development team.
Author
Tara is Director of Data Engineering on Cardinal Path's Data Science team. She focuses on advancing clients' capabilities by solving their challenges in data integration and transformation. With a deep background in consulting across a variety of verticals and platforms, Tara is often a heavily relied upon resource to bridge communication gaps and unlock technical barriers.
View all posts


